This week in CEP 811 we learned about Massively Open Online Courses (MOOC) through P2PU and were challenged to create a mini MOOC. In my introduction to Schoology course, my peers will master skill needed to set up a Schoology classroom page by creating a class and communicating with students and their parents through their Schoology page.
Schoology
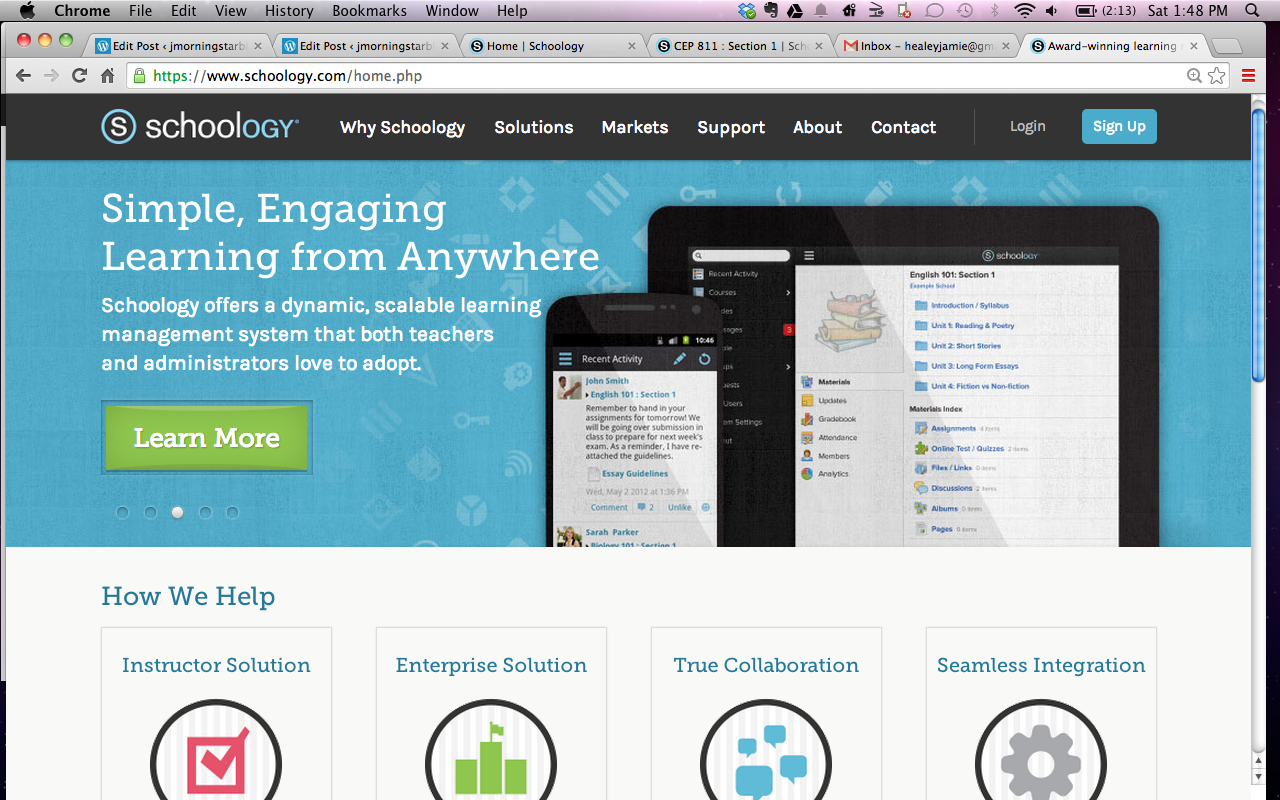
Audience: K-12 educators, parents, and students that would be interested in learning more about Schoology. Schoology has become a popular learning management system in schools around the country. It is user-friendly and even better it is free! Educators can create classes, share resources, post videos, and even create assessments.
During this course learners will be able to set up a course on Schoology and share it with their students and parents. Learns will also learn how to use the updates feature and manage student’s comments. This course is set up in five different phases. When the learn has completed the introductory class they will have created a course where their students and student’s parents have access and can communicate regularly. This course is a step by step instruction on how to setup a Schoology page. Once a new course is created within Schoology there are many resources for teachers and students to use.

Creating a Schoology page will allow students and teachers to use technology to support and educate each other. The learner will learn how to create a Schoology course by experimental learning. Following the directions and trying new things within their Schoology page. Once the learner has created their class and learned how to communicate with students and parents they can explore many more tools with in Schoology.
Lesson One: Signing up for Schoology
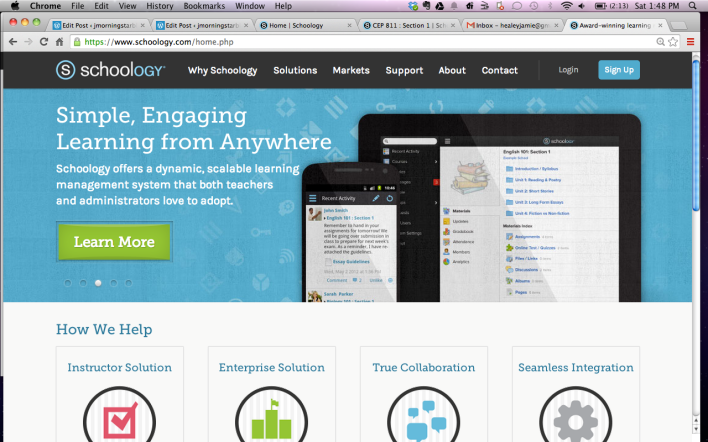
To begin learners need to sign up for a Schoology account it is free all you need is an email. When signing up teachers, students, and parents sign up under different categories. I am going to show how to use the instructor category.
First, enter your school email then you will be prompted to enter your country, state, city, and school name. Once your information is entered Schoology will prompt you to take a tour. I recommend taking the tour to familiarize yourself with what Schoology has to offer.
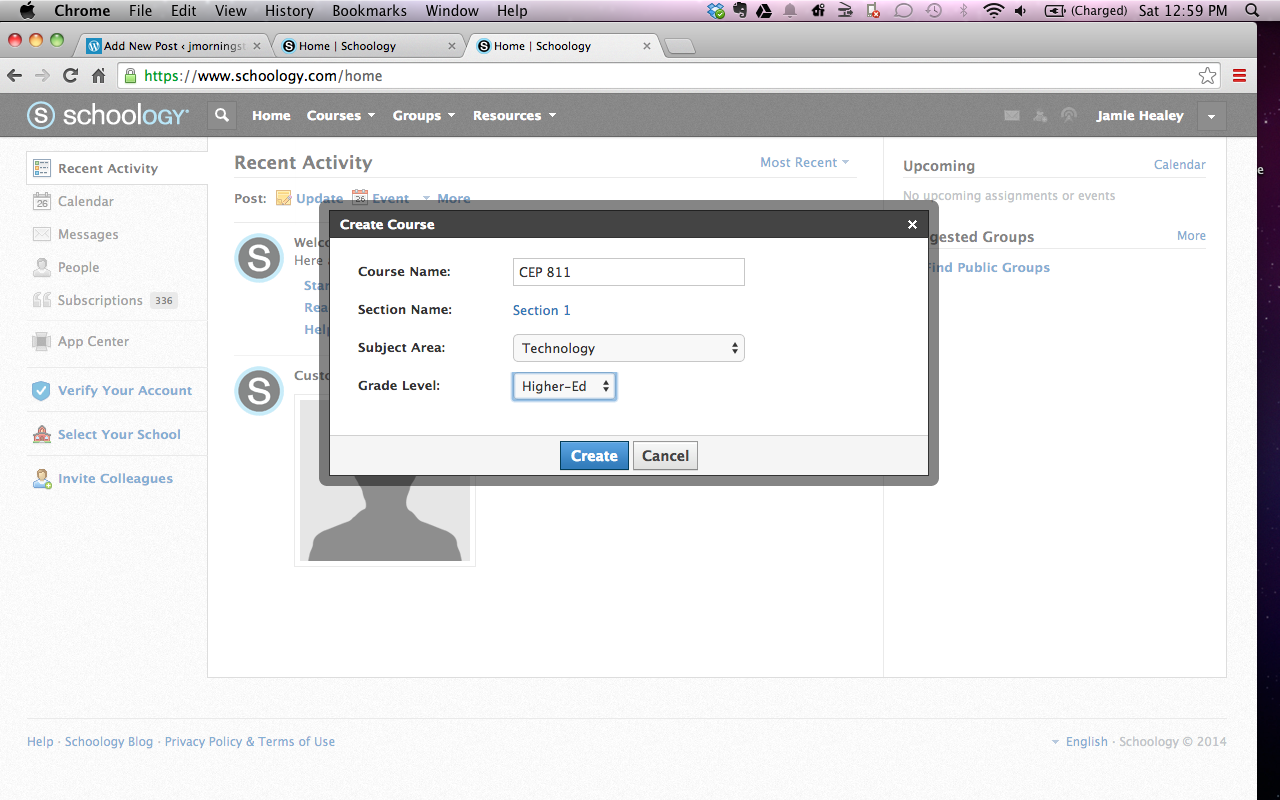
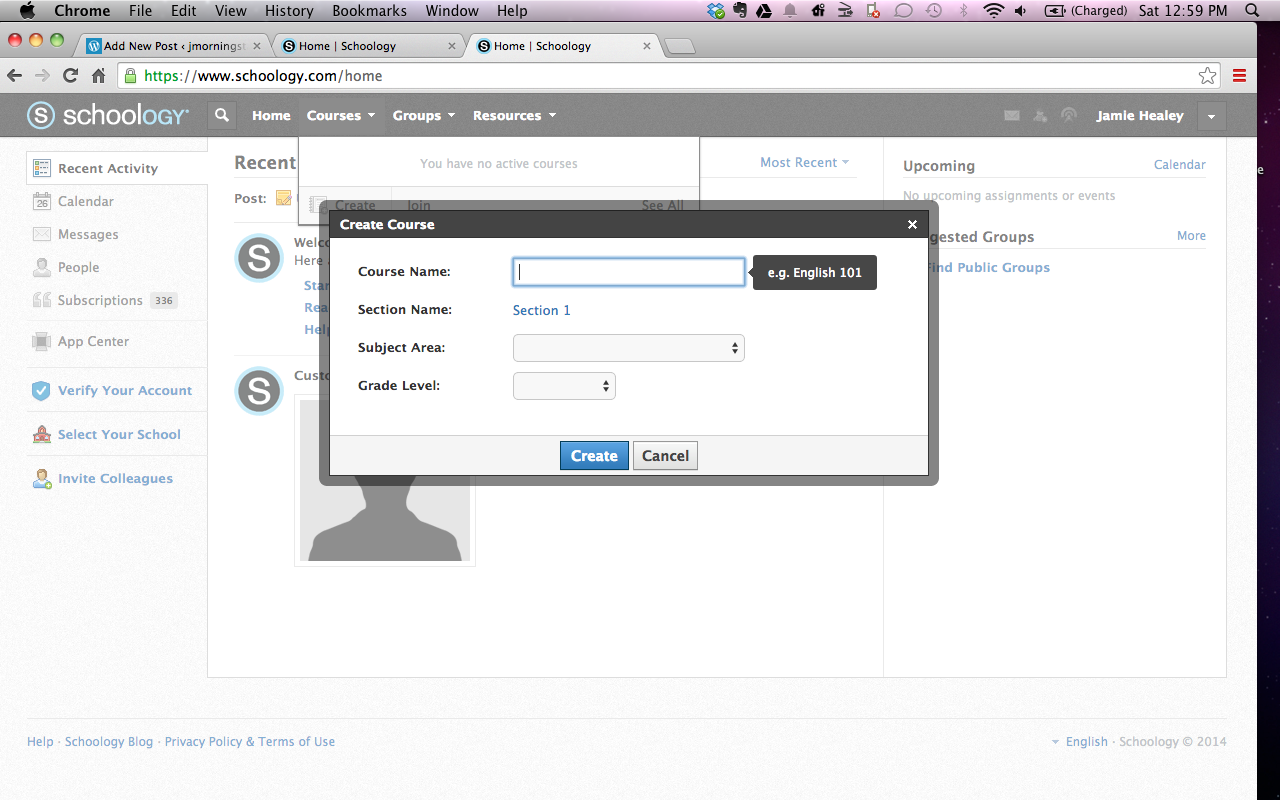
Lesson Two: Creating a Course
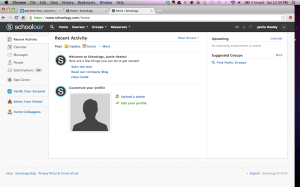
Create Courses: Create Courses to organize your academic content, grades, attendance, and invite students. (this is the first stop on your tour)
At the top of the page click on Courses.
 Then click on the + Create button.
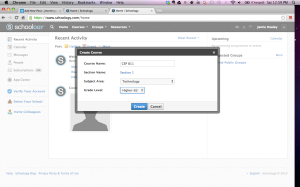

Course Name: give your course a name that will be easy for you to keep organized. For my example: I named my course CEP 811, subject technology, and grade level high education.
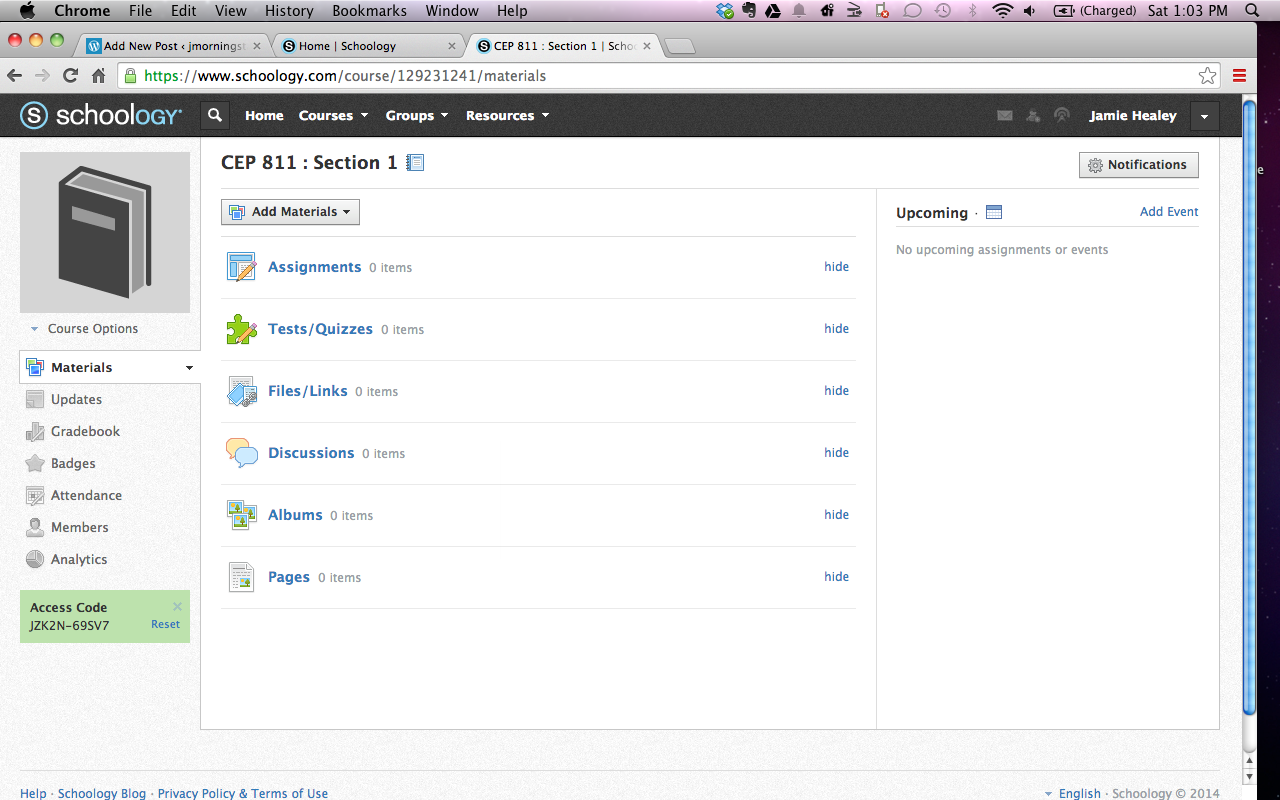
Lesson Three: Adding Students and Parents to your Course
Before you can add students and parents they must sign up for a free account on schoology.com. I recommend having your students sign up with their school email and passwords. This will help the students stay organized and not have a lot of different emails and passwords.
Once your course has been created there is a special access code that your students and parents need to access your Schoology course.
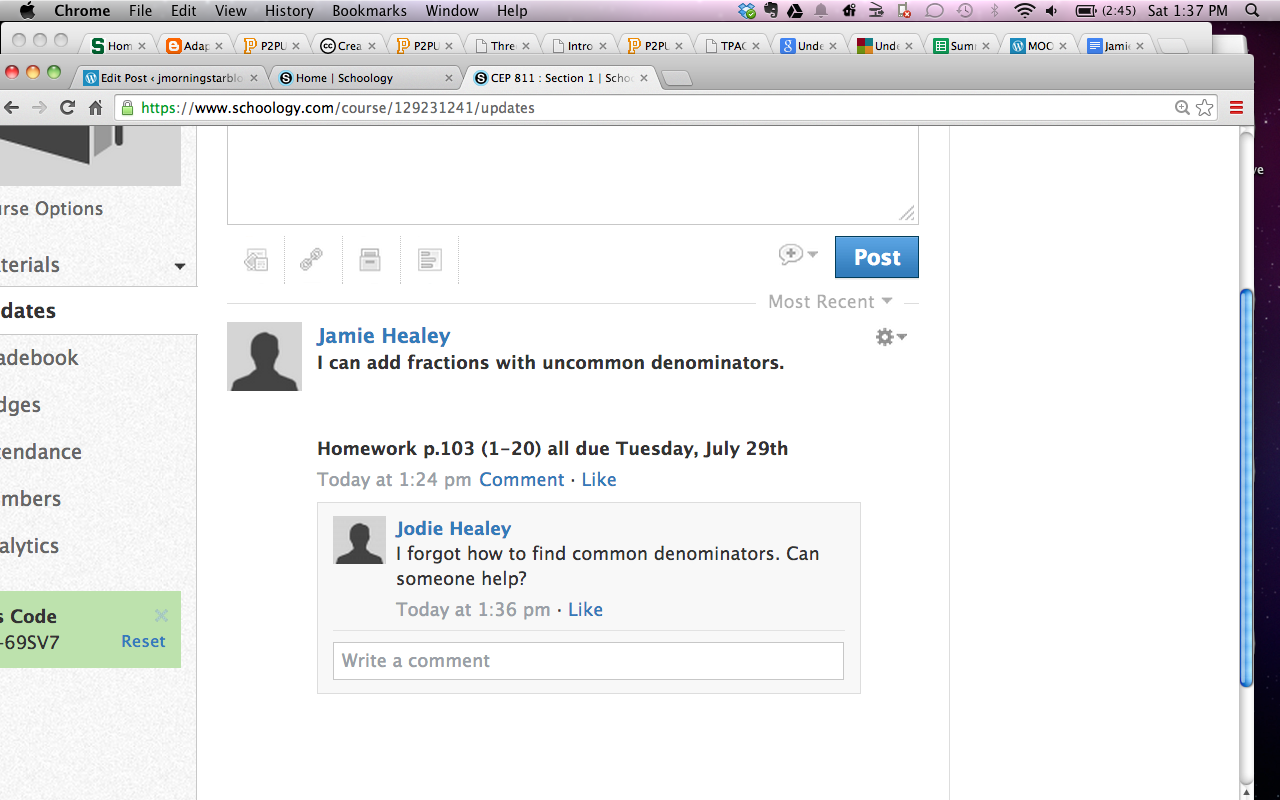
 The student access code is in the green box on the bottom left hand corner of the screen (ZK2N-69SV7). The students must type this code in exactly as reads this code is case-sensitive.
The parent access code is found under the members tab on the left.
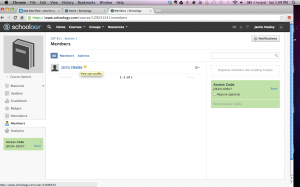 Having a separate parent code helps with organization. This code is also case-sensitive (JZK2N-69SV7). I give the parent code out at open house in the beginning of the school year.
Lesson Four: Communicating with Students and Parents
An easy way to communicate with students and parents is through the “update” tab. Everyday under the update tab I post the “I can statement” and homework for that evening. A major benefit to posting an update everyday is the students that are absent know exactly what they missed or what work they need to make up.

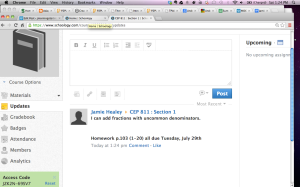
Once I have posted an update student can comment on the update.
Lesson Five: Managing Student’s Comments
Although it is nice for students to comment on posts I recommend setting up rules about what they can post. Here is an example of my expectations from one of my past classes.
Posting Expectations
1. Students may ask questions about the material they are learning.
2. Students may answer other student’s questions.
3. Schoology is NOT facebook we do not want to know what you are doing this weekend.
4. Students may add resources they find helpful to the update.
If the expectations are not followed student will lose the privilege of posting to Schoology.
Example of an acceptable post!
 This student is asking for help and opens up the question to the whole class.
The teacher has the power to delete the students comments or keep them. The teacher also gets email notifications every time a student posts to the course.
Managing Post
In the top right hand corner by the teacher name there is a drop down menu in the menu select notifications.

On the notifications page there are several options to turn on or off student postings.

Learns that take this course will be able to create a Schoology account and course. The learns should be able to add students, parents, and communicate with both using their Schoology page. Using Schoology as a resource in the classroom helps teachers be more organized and gives them an easy outlet of communication. Schoology has many other great resources to explore once teachers and students have mastered the basics.
Resources
Creative Commons Image
https://www.flickr.com/photos/leesphotos/8696859446/in/photolist-gxrJfv-ju5K1W-gVeAzk-efvFjw-dG1ZEn-htn8ec-9f5dLD